

Building a Robust Front End in Django


Before starting create a project and an app. Check previous blogs for assistance if you would like. It's time to consider the front end of our project. Let's add some colors because the HTML-only versions of our templates are too plain. Making a folder to house all of the static assets, including CSS and JavaScript scripts, photos, videos, and other media, is the first thing we must accomplish.
Let's build a new folder called "static". Now we must inform Django that this is the location it should search in to find static files. Let's navigate to the smartnotes and then settings to accomplish it. Then, if we scroll down a little bit, we will find that there is already a STATIC URL here. We will now additionally include STATICFILES DIRS.
Let's go to the settings.py :
STATIC_URL = 'static/'
STATICFILES_DIRS = [
    BASE_DIR / 'static',

]
Okay, now that we've created the new folder just for the CSS files and one CSS file, we can return to the static. Give it the name style.css. Type the code:
.note-li {
    color: green;
}
Also, open an html file in your templates folder. Mine is called "hello.html". If you don't have, create a "templates" folder. And type:
hello.html
{% load static %}
<html>
    <head>
        <link rel="stylesheet" type="text/css" href="{% static 'css/style.css' %}"/>
    </head>
<h1> WELCOME </h1>
<li class="note-li"> This is the new project </li>
</html>
views.py :
from django.shortcuts import render
from django.http import HttpResponse

def say_hello(request):
    return render(request, 'hello.html')
urls.py :
from django.urls import path
from . import views

urlpatterns = [
    path('hello/', views.say_hello)
]
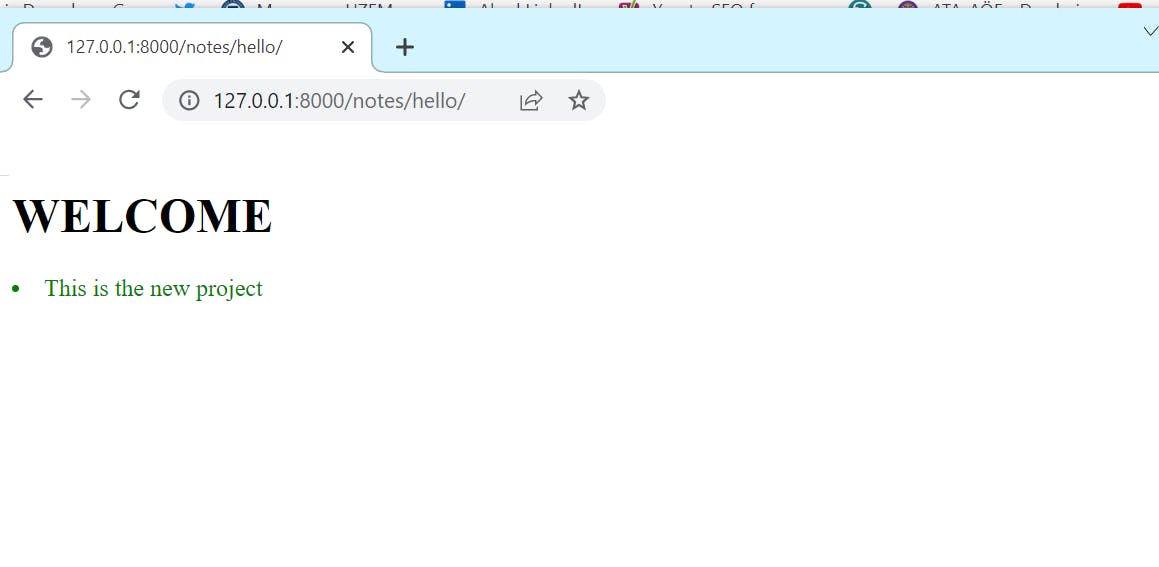
Check browser: 127.0.0.1:8000/notes/hello
How to set up a base HTML for every Django template
As we've seen, adding CSS files to a Django template is rather simple. However, it would be pretty tiresome to have to always keep in mind to include the CSS link in every template we have in every one of our apps. You are quite correct if you believe that there must be a better method to go about achieving this. We now require a foundational template. Let's construct a base.html template and a template folder in the static folder.
Before it all, go to settings.py and add this to the TEMPLATES:
'DIRS': [
            BASE_DIR / 'static/template',
        ],
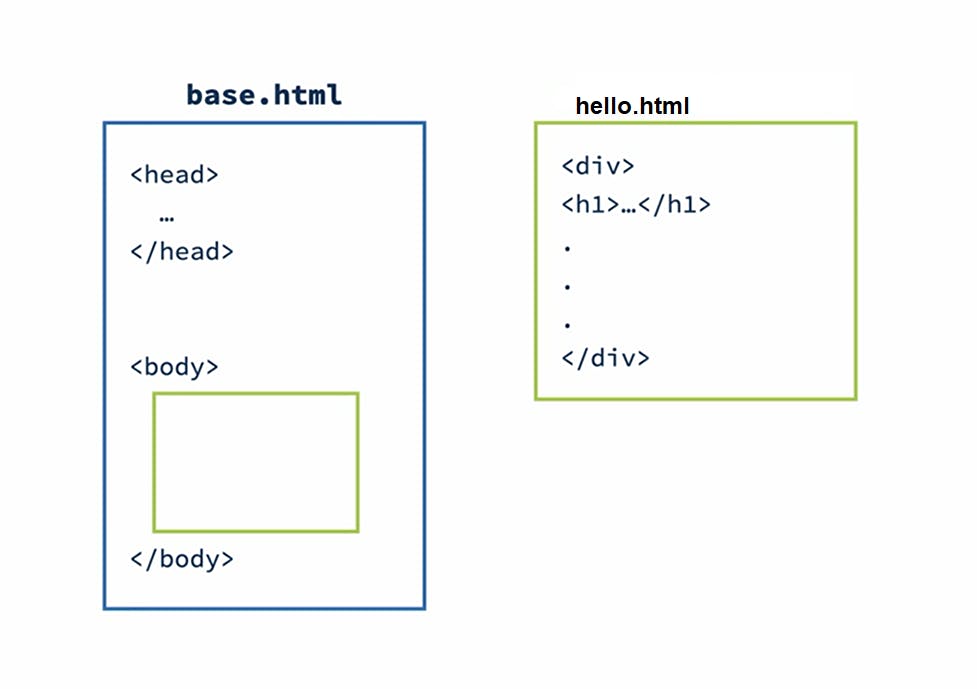
base.html:
{% load static %}
<html>
<head>
    <link rel="stylesheet" type="text/css" href="{% static 'css/style.css' %}"/>
</head>

<body>
    {% block content %}
    {% endblock %}
</body>

</html>
And, come back to hello.html file that we have constructed before:
hello.html
{% extends "base.html" %}
{% block content %}
<html>
<h1> WELCOME </h1>
<li class="note-li"> This is the new project </li>
{% endblock %}
It should be giving us the same result in browser.
This approach allows us to describe the fundamentals of our HTML in our base.html template before creating each web page as a unique template that extends the base. As a result, we will create each template independently and only in tiny pieces before injecting it into the main template, which will already have all of our default settings, including the CSS and JavaScript files. This will enable us to make each web page design as straightforward as possible while centralizing all settings.
Adding Style
We want to speed up our front end a little bit, therefore let's use the CSS framework rather than define all the CSS. For now, we're going to utilize Bootstrap, therefore we need to make some changes to the static, base.html. base.html:
{% load static %}
<html>
<head>
    <link rel="stylesheet" href="https://cdn.jsdelivr.net/npm/bootstrap@4.3.1/dist/css/bootstrap.min.css" integrity="sha384-ggOyR0iXCbMQv3Xipma34MD+dH/1fQ784/j6cY/iJTQUOhcWr7x9JvoRxT2MZw1T" crossorigin="anonymous">
<body>
    <div class="my-5 text-center container">
    {% block content %}
    {% endblock %}
    </div>
</body>

</html>
Let' see how "127.0.0.1:8000/notes/hello" looks right now.
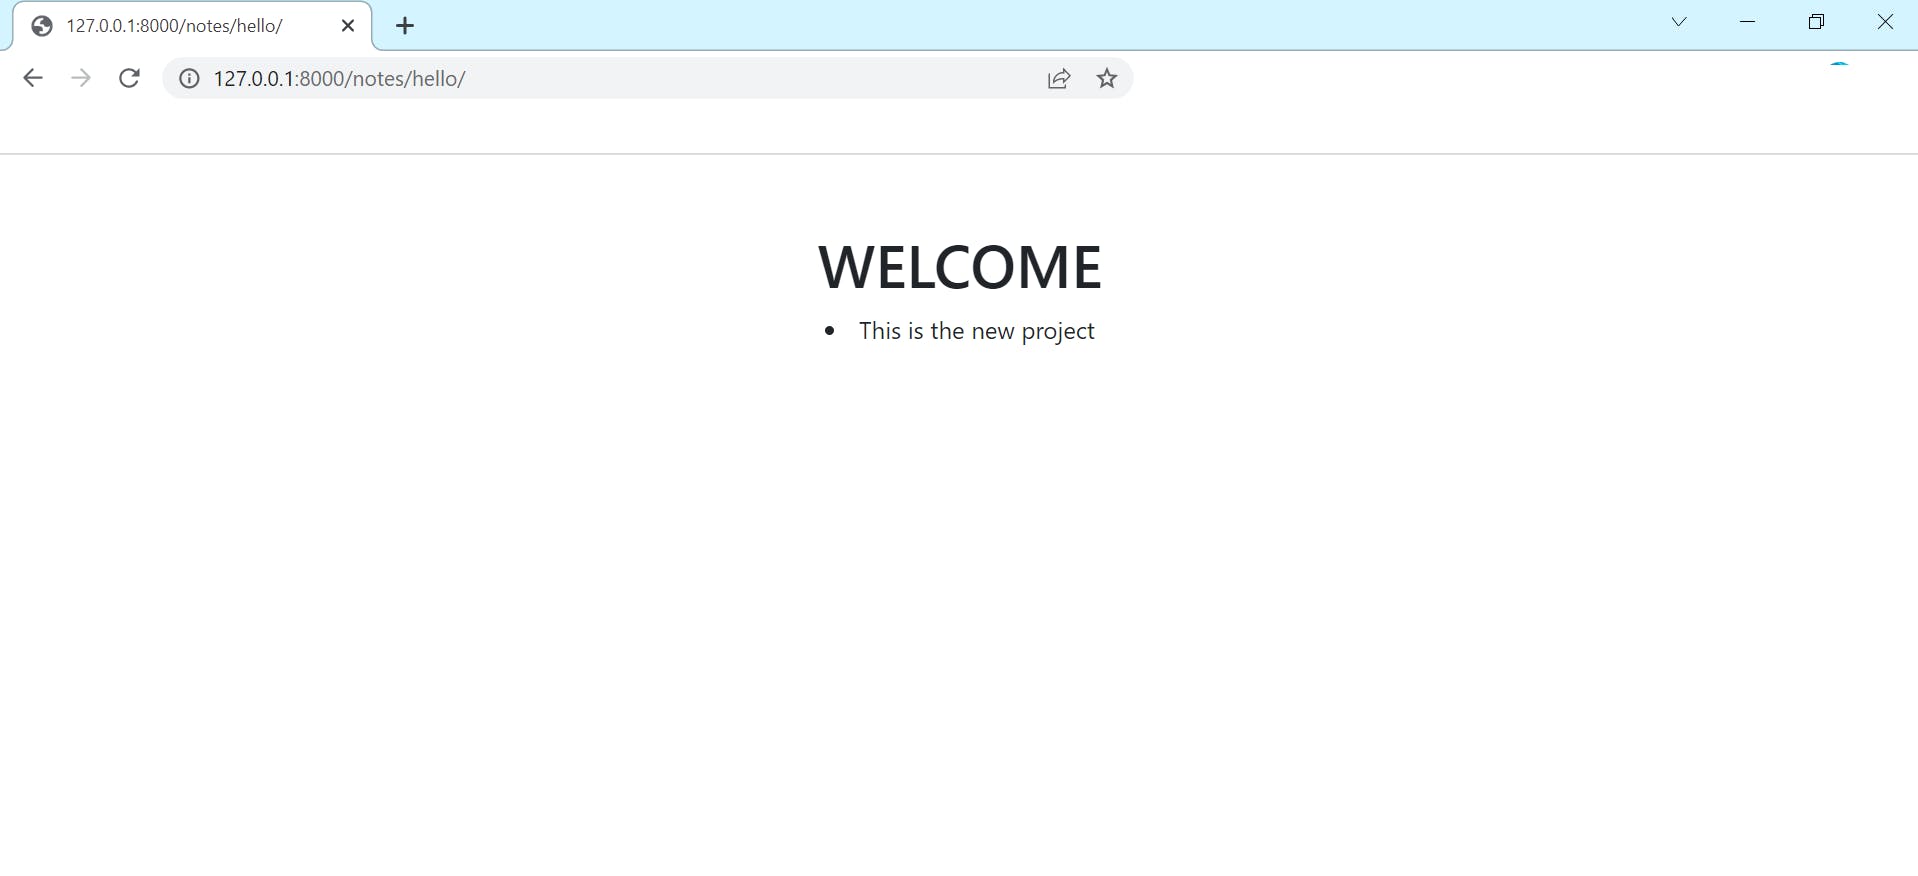 So, it is way more stylish.
Now, let's add a button.
{% extends "base.html" %}
{% block content %}
<html>
<h1> WELCOME </h1>
<li class="note-li"> This is the new project </li>
<a href="" class="btn btn-primary"> Click Here </a>
{% endblock %}
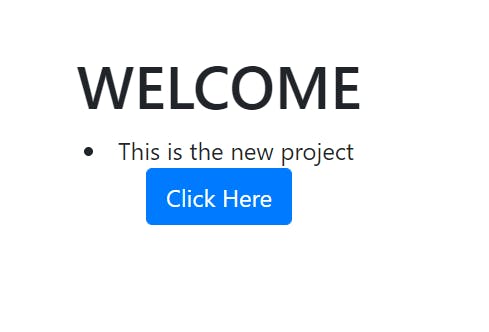
So, now how do we switch pages by clicking the button?