

Django's Interaction with DataBases


Let's open a new app with the code we are familiar with. I am naming mine "notes".
python manage.py startapp notes
Like previously, we should register it to settings.py file as well.
After doing that, we should go to our models.py file. This is the file where we may generate the models for this app. So let's make a new class called notes that will inherit from models. Model. Django will recognize that this is a model that will have an effect on the database, and so on. It is now time for us to consider what characteristics we want in our note. First, we may add a title. Because a title is a short text, we may utilize the type Charfield, which is a restricted text view. Charfield contains a parameter called max length, which we should set to a value. I set it to 200. This indicates that our title cannot be longer than 200 characters. This indicates that our title cannot include more than 200 characters.
from django.db import models

class Notes(models.Model):
    title=models.CharField(max_length=200)
    text=models.TextField()
    created=models.DateTimeField(auto_now_add=True)
Because the notes should not be limited, we may utilize TextField instead of Charfield. As you can see, TextField, unlike Charfield, does not require a maximum length. We also need to know when this note was generated, so we'll add a new field called created, which will be a DateTimeField. We may add a parameter called auto now add equals true if we don't care about this field being appropriately populated. This implies that every time a note is generated, this field will be accurately supplied with the time of creation, so we don't have to worry about it.
Then we should come back to terminal and type:
python manage.py makemigrations
We can see that we have a new file right now. Finally, we should type:
python manage.py migrate
Using Admin to Create Data Creation and Manipulation
When developing a new model, we must take the initiative. Returning to the notes application, let's open a file named admin.py. Here, we discuss which models may be seen and then updated using the Django admin interface. Let's first construct a class and give it the name NotesAdmin. From admin.ModelAdmin, this class must inherit.
We must go to the "admin.py" page and type:
from django.contrib import admin
from . import models
class NotesAdmin(admin.ModelAdmin):
    pass
admin.site.register(models.Notes, NotesAdmin)
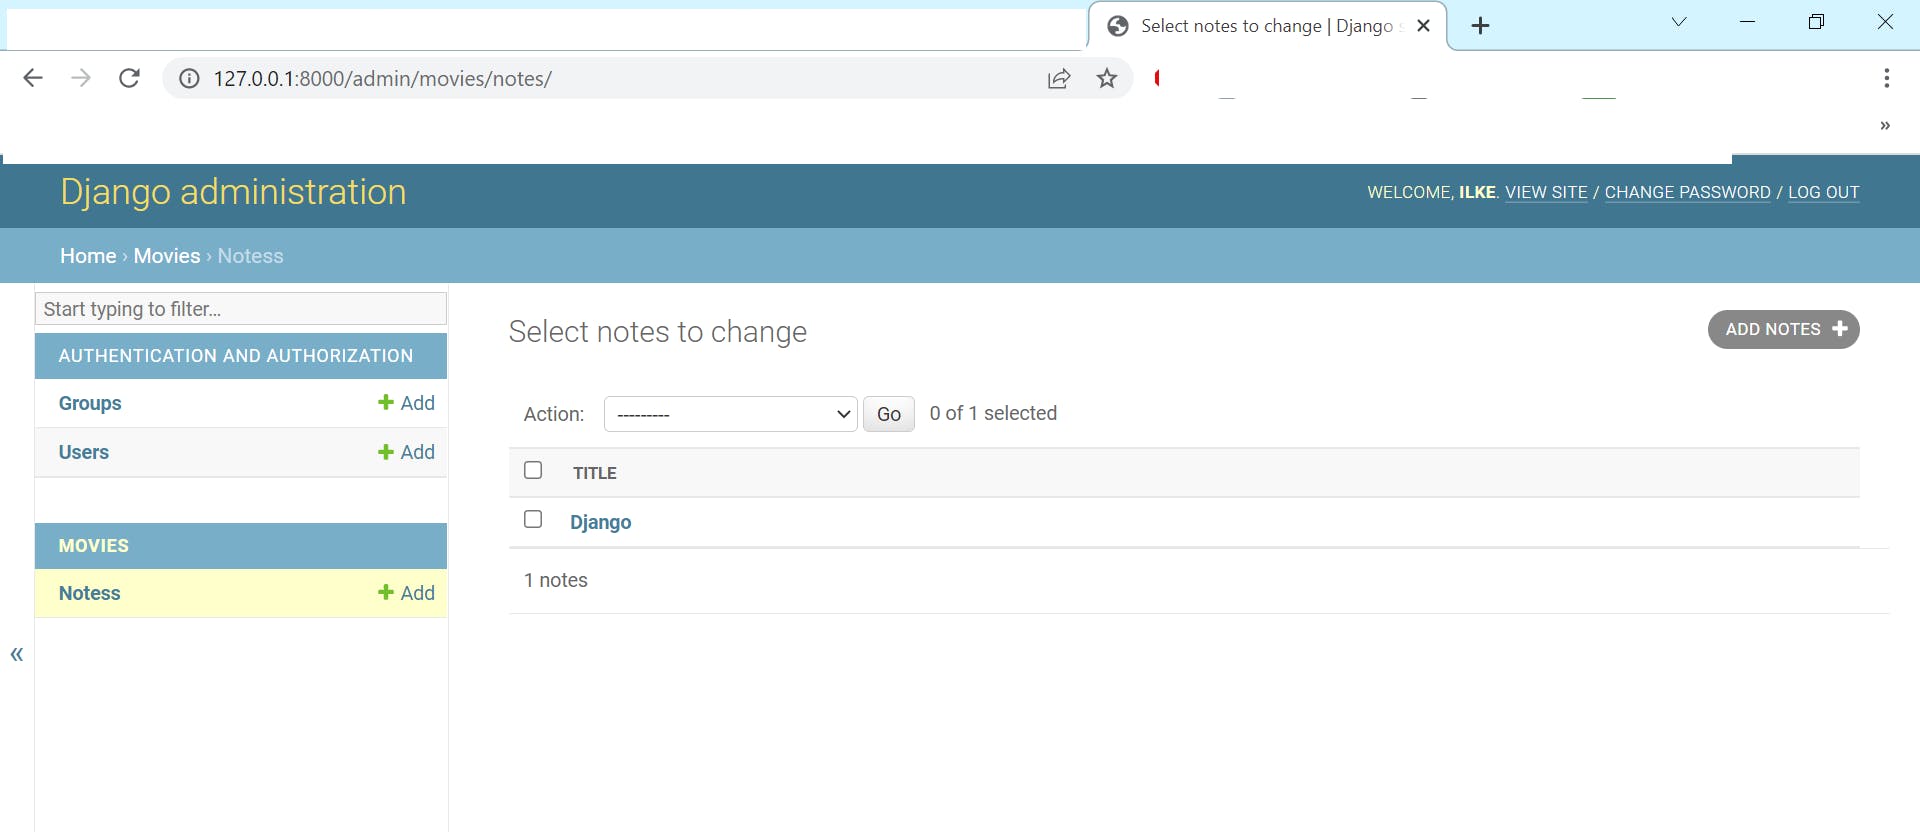
After refreshing the page, we can see that it is added to the admin portal. We can manipulate how this looks on admin interface with a tuple in the code. Instead of "pass", we will type :
list_display = ('title',)
Additionally, admin's default setting permits all users to edit all fields. However, we are able to modify the admin model class and begin incorporating some specific logic. Some fields can no longer be modified. Only staff members may write notes, at this time. The sky is the limit in terms of what we can do. Django admin has a lot of configuration options.
Using Django shell for creating and querying data
It's time to start learning how to manipulate models in code. The Django shell, a tool provided by Django, may be used to quickly and easily inspect the content of a database. Let's go to the terminal and type: Let's enter python manage.py shell at the terminal. As you can see, we have a Python interpreter.
PS C:\Users\LENOVO\Desktop\Main> python manage.py shell
Python 3.10.5 (tags/v3.10.5:f377153, Jun  6 2022, 16:14:13) [MSC v.1929 64 bit (AMD64)] on win32
Type "help", "copyright", "credits" or "license" for more information.
(InteractiveConsole)
This Python interpreter is not just any Python interpreter; it is already closely integrated with our project. For instance, we can type from notes.models import Notes to access the model we just created and use it to query the database's objects.
>>> from movies.models import Notes
>>> mynote = Notes.objects.get(pk='1')
>>> mynote.title
'Django'
>>> mynote.text
'I love Django'
>>> Notes.objects.all()
<QuerySet [<Notes: Notes object (1)>]>
We can add a new note:
>>> new_note=Notes.objects.create(title="A second note", text="This is the second note")
>>> Notes.objects.all()
<QuerySet [<Notes: Notes object (1)>, <Notes: Notes object (2)>]>
We can use filtering:
>>> Notes.objects.filter(title__startswith="My")
<QuerySet []>
>>> Notes.objects.filter(text__icontains="django")
<QuerySet [<Notes: Notes object (1)>]>
>>> Notes.objects.exclude(text__icontains="django")
<QuerySet [<Notes: Notes object (2)>]>
>>> Notes.objects.filter(text__icontains="django").exclude(title__icontains="django")
<QuerySet []>