Building Dynamic Webpages in Django
We will first open a web page with html.
First, of all let's fallow all the steps to open a file in html. Let's open terminal:
pip install pipenv
pipenv install django
django-admin
django-admin startproject storefront
python manage.py runserver
Now, we will creaete an app. Then add it to "INSTALLED APPS" part of settings.py
python manage.py startapp notes
python manage.py migrate
Now, come to "notes" app and open views.py
from django.shortcuts import render
from . models import Notes

def list(request):
    all_notes=Notes.objects.all()
    return render(request, 'hello.html', {'notes': all_notes})
In notes app, create a folder named "templates" then open another file 'hello.html'.
In 'hello.html':
<html>
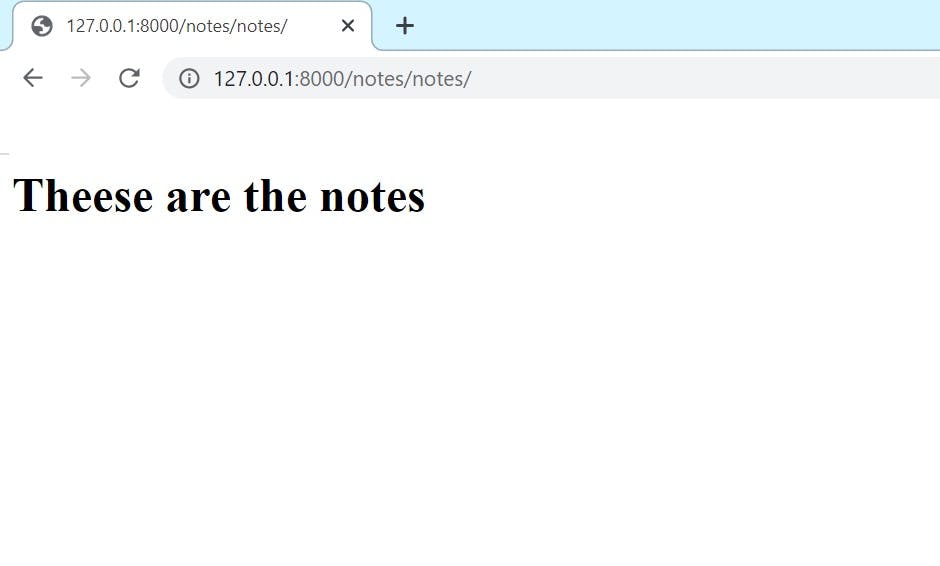
    <h1> Theese are the notes </h1>
    <ul>
        {% for note in notes %}
           <li>{{note.title}}</li>
        {% endfor %}

    </ul>
</html>
Now, create another file and name it "urls.py"
from django.urls import path
from . import views

urlpatterns = [
    path('hello/', views.list)
]
models.py file:
from django.db import models

class Notes(models.Model):
    title=models.CharField(max_length=200)
    text=models.TextField()
    created=models.DateTimeField(auto_now_add=True)
admin.py file:
from django.contrib import admin
from . import models
class NotesAdmin(admin.ModelAdmin):
    pass
admin.site.register(models.Notes, NotesAdmin)
Now, go to "storefront" project file and open urls.py:
from django.contrib import admin
from django.urls import path, include

urlpatterns = [
    path('admin/', admin.site.urls),
    path('notes/', include('notes.urls'))
]
Display Content of a Single Note
We should go back to "notes-> views.py".
We will add a 404 not fount functionality as well. And we add these new lines of code:
from django.shortcuts import render
from . models import Notes
from django.http import Http404

def list(request):
    all_notes=Notes.objects.all()
    return render(request, 'hello.html', {'notes': all_notes})

def detail(request, pk):
    try:
        note=Notes.objects.get(pk=pk)
    except Notes.DoesNotExist:
        raise Http404('Note does not exist.')
    return render(request, 'notes_detail.html', {'note':note})
Then, we should open another file in "templates" and name it notes_detail.html
<html>
    <h1>{{note.title}}</h1>
    <p>{{note.text}}</p>

</html>
Next, we go to urls.py inside "notes"
from django.urls import path
from . import views

urlpatterns = [
    path('notes/', views.list),
    path('notes/<int:pk>', views.detail),
]
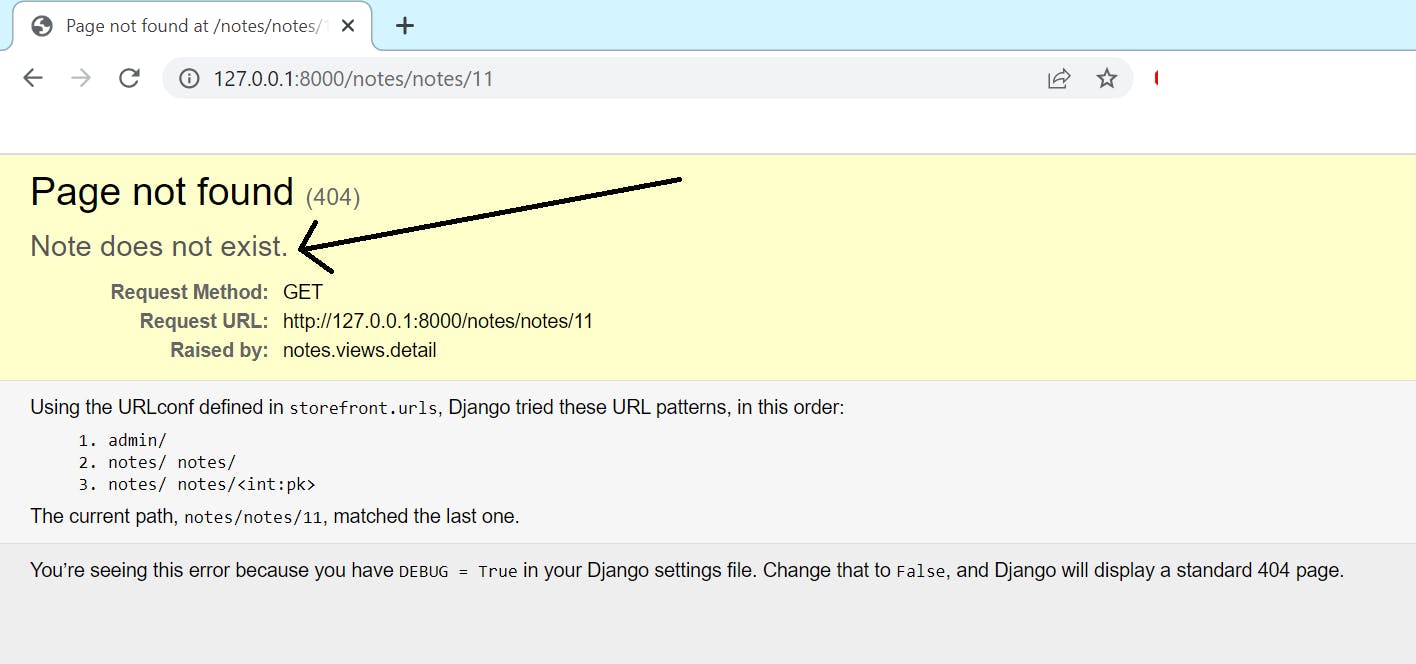
When we enter a pk that does not exist, it will show:

Django Class-Based Views
Class-based views help you create powerful endpoints without too much effort. Let's go to view.py inside "notes" again.
from django.views.generic import TemplateView

class HomeView(TemplateView):
    template_name ='hello.html'
How do we handle authentication is class-based views?
We'll need a mixin class for that, I suppose. Helper classes called mixins can be used with other classes to offer extra functionalities. We'll employ the LoginRequiredMixin in this instance.
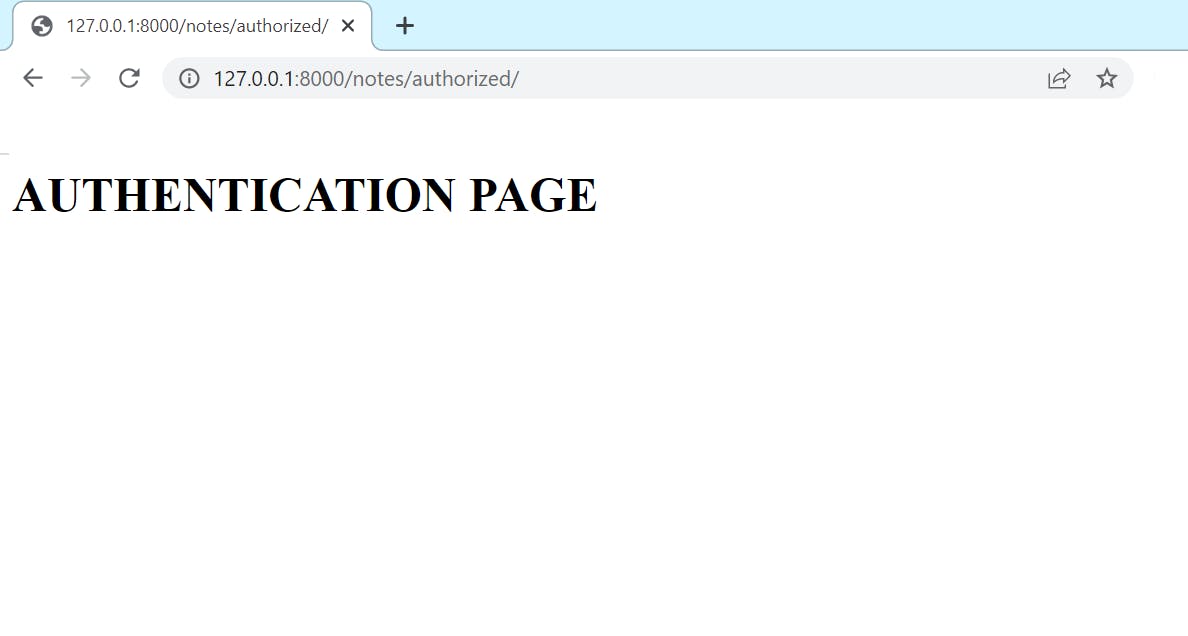
Create a page called "auth.html" from templates for authentication page. Mine looks like this:
<h1> AUTHENTICATION PAGE </h1>
Now, how view.py looks:
from django.shortcuts import render
from . models import Notes
from datetime import datetime
from django.http import Http404
from django.contrib.auth.mixins import LoginRequiredMixin
from django.views.generic import TemplateView

class HomeView(TemplateView):
    template_name ='hello.html'
    extra_context ={'today': datetime.today()}

class AuthorizedView(LoginRequiredMixin, TemplateView):
    template_name= 'auth.html'
    login_url= '/admin'
from django.urls import path
from . import views

urlpatterns = [
    path('notes/', views.HomeView.as_view()),
    path('authorized/', views.AuthorizedView.as_view()),
]
So on browser: 127.0.0.1:8000/notes/authorized
 And, as previously: 127.0.0.1:8000/notes/notes

It was time for templates; now it's time for more intricate perspectives. With our list endpoint, let's begin. Let's navigate to the views.py file on the notes. Let's import from django.views.generic import into this area. ListView. Okay, I'll launch our class-based view now.
PS: Check ListView and DetailView functions later.
