Django Built-In User Management
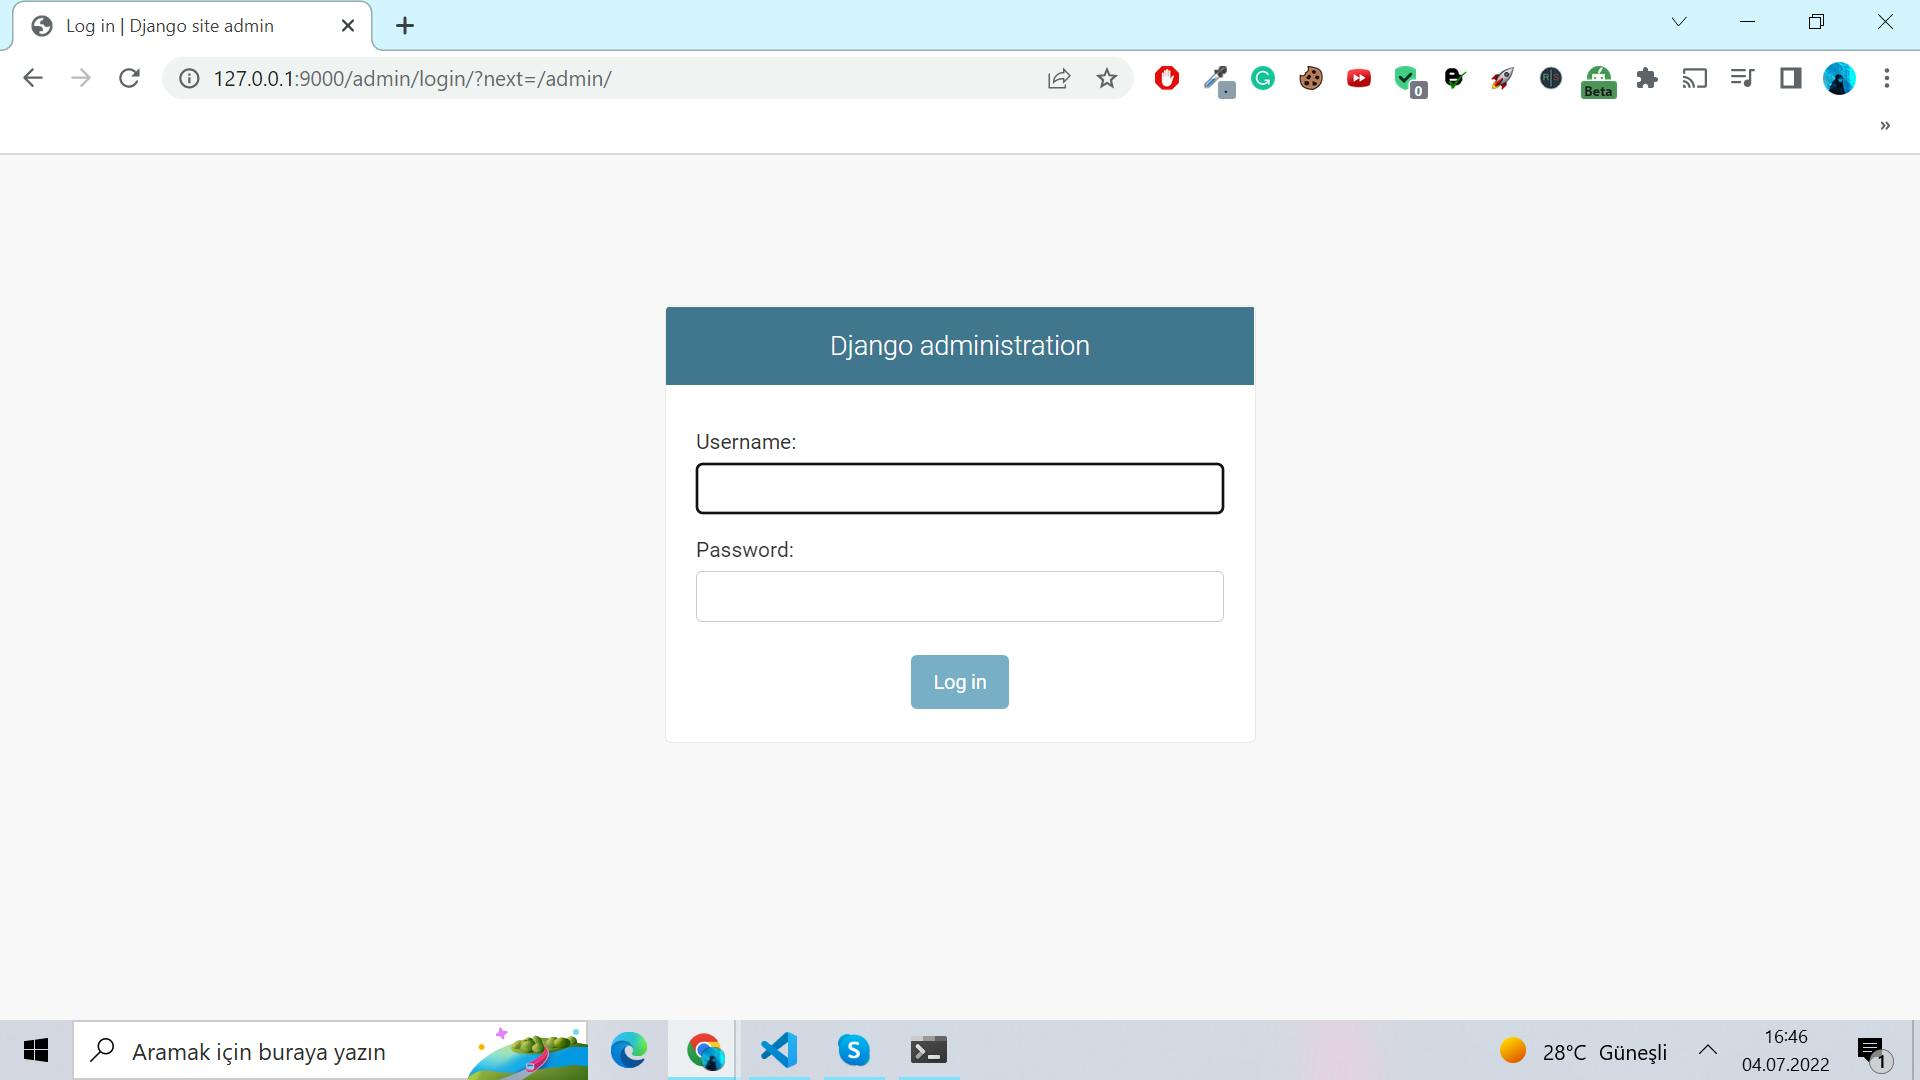
Django has the entire authentication systems that is ready to go. With "runserver" function go to your browser and add the "/admin" at the end of your url. Mine looks like this: 127.0.0.1:9000/admin

We only need to make sure that our database is properly configured. Django determines if the database is behind the system by using a handful of files called migrations. Migrations describe the kind of changes that a database must make, such as creating a new table or establishing a new relationship. Django has already completed the authentication system migrations. So what you need to do is apply them to the database, which we accomplish by using the command migrate, which changes the database.
python manage.py migrate
We don't see these applications since they're included with Django by default, but they're there and ready to use. Our database is now compatible with Django. What we need to do is establish a super user with all of the privileges available in this Django project. We do this by using the command create super user. python manage.py createsuperuser.
Username (leave blank to use 'lenovo'): admin
Email address:
Password:
Password (again):
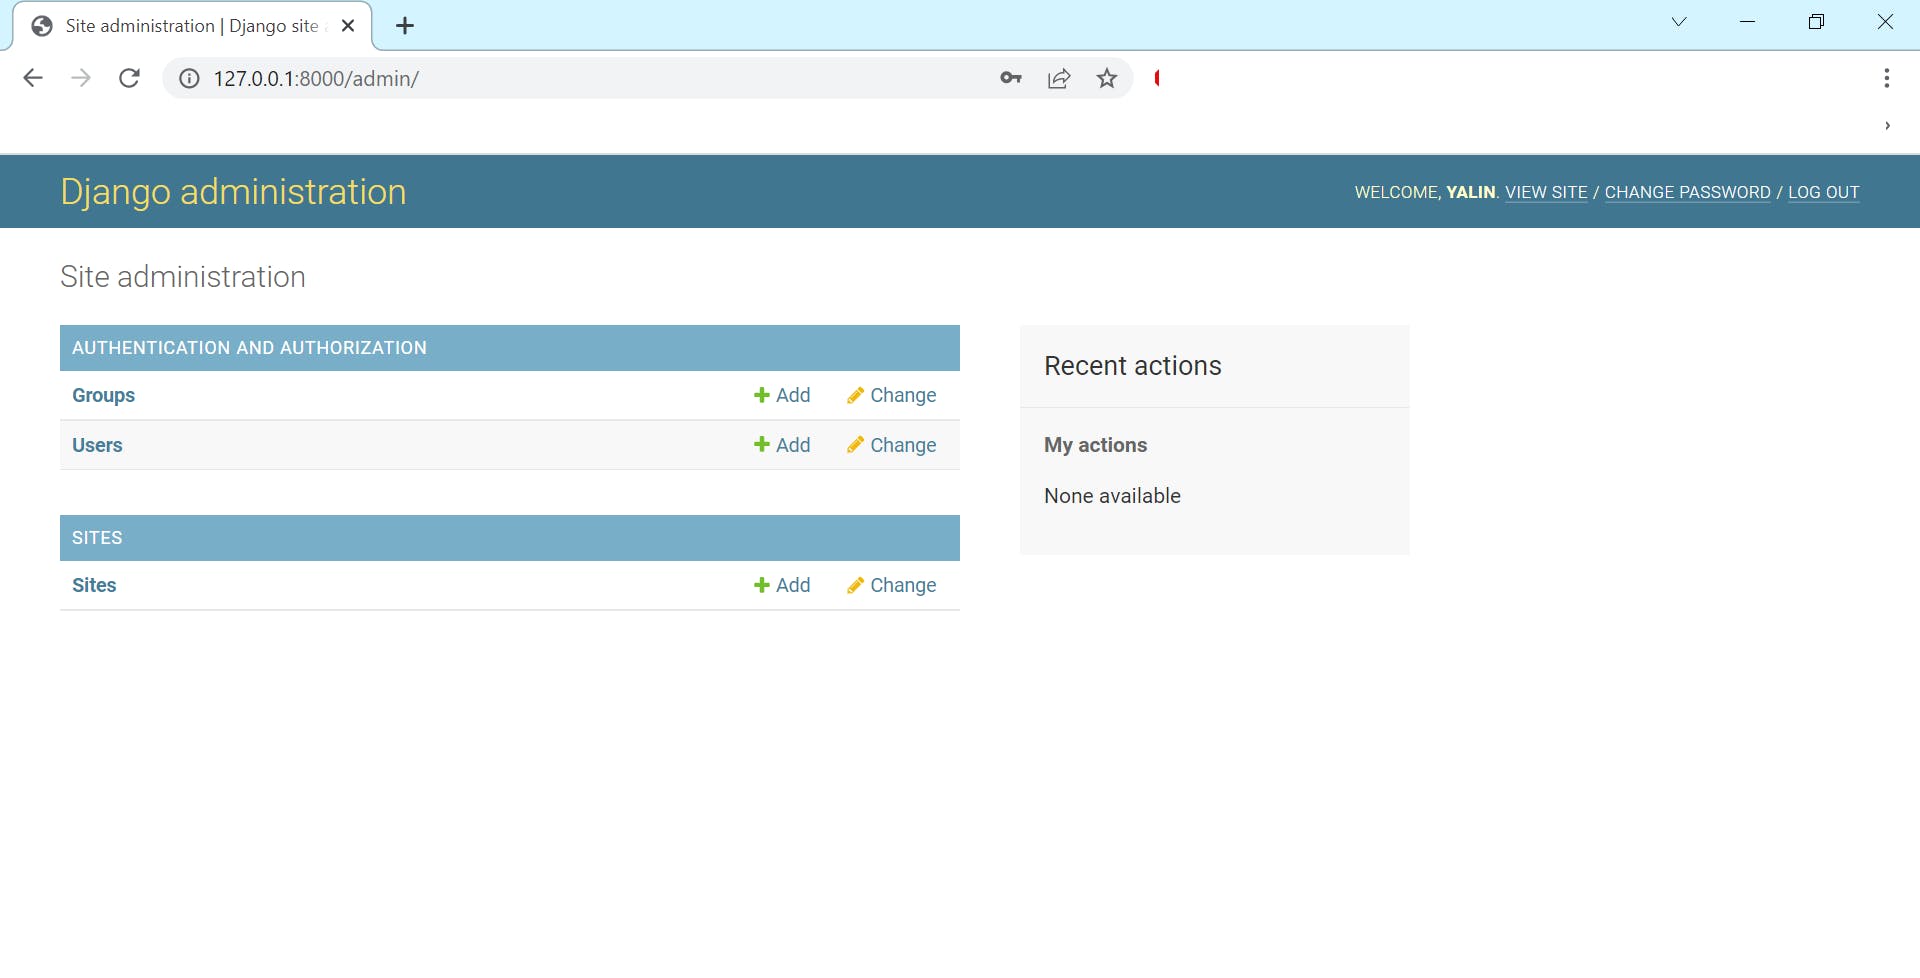
Now, we can go back to server. And, we can login. We should be going to admin page.

The Django admin interface allows us to quickly and easily retrieve database data. This implies that, as you can see, users and groups are really tables in our database. When we view the users table, we discover that there is already one record, the admin user that we established with the create super user command.
User Authentication
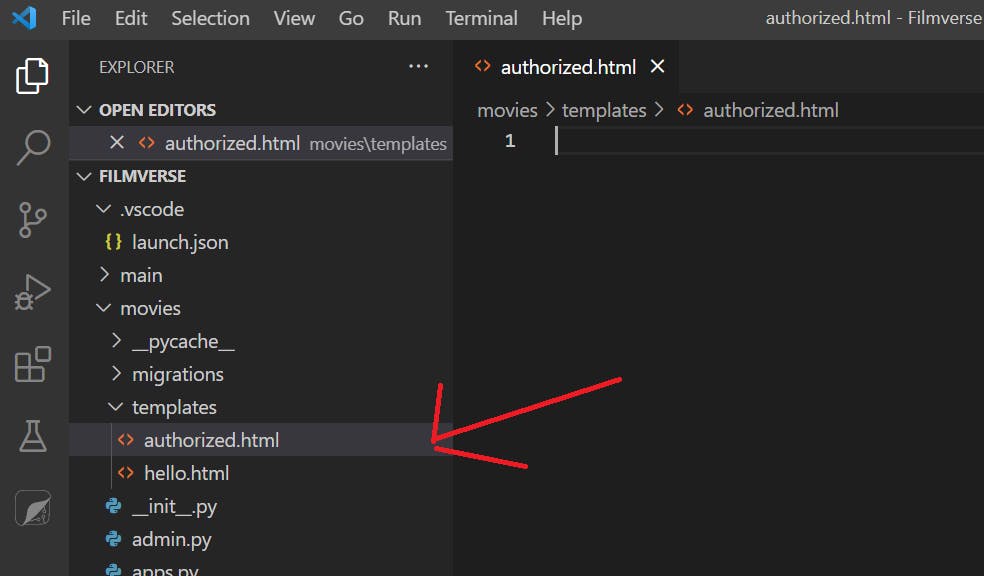
Let's go to our templates and create another file.

We can type:
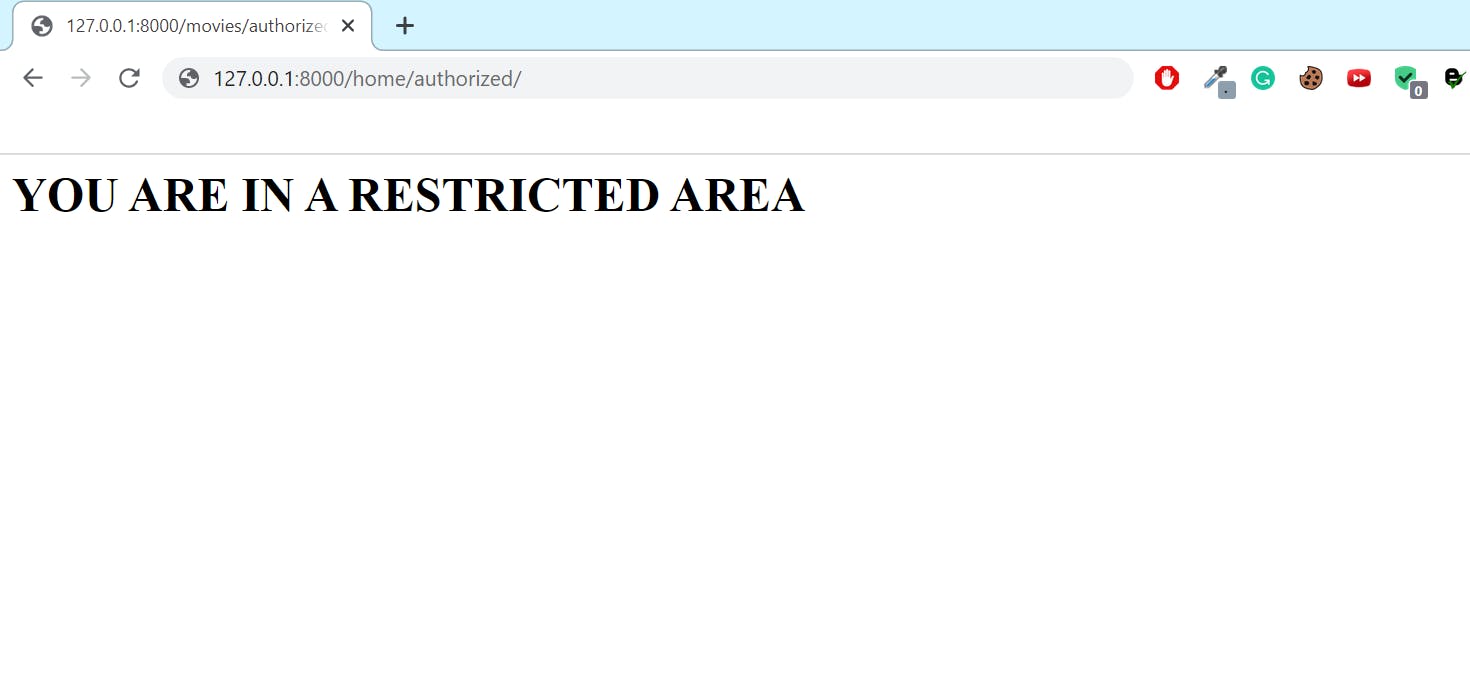
<h1> YOU ARE IN A RESTRICTED AREA </h1>
Now we can go back to views.py file and create a similar function to home. However, this time we are going to display the authorized template.
from django.shortcuts import render
from django.http import HttpResponse
from django.contrib.auth.decorators import login_required

@login_required
def authorized(request):
    return render(request, 'authorized.html', {})
Now, go to urls.py and add this path.
path('authorized/', views.authorized)]

We can see the template that we designed. We can only do this since we're signed in through the Django admin interface. When we return to the admin, log out, and try to re-access the allowed area, we receive a 404, which means that the page was not found. Why is this the case? Because we haven't logged in. A single line of code was all that was necessary for the complicated authentication mechanism. However, a 404 isn't exactly a pleasant flow, is it? We want the user to understand that they must be logged in to view this page. The optimum flow is to send them to the login page. We need to direct the page back to login. So, go back to views.py and type:
@login_required (login_url='/admin')
def authorized(request):
    return render(request, 'authorized.html', {})
